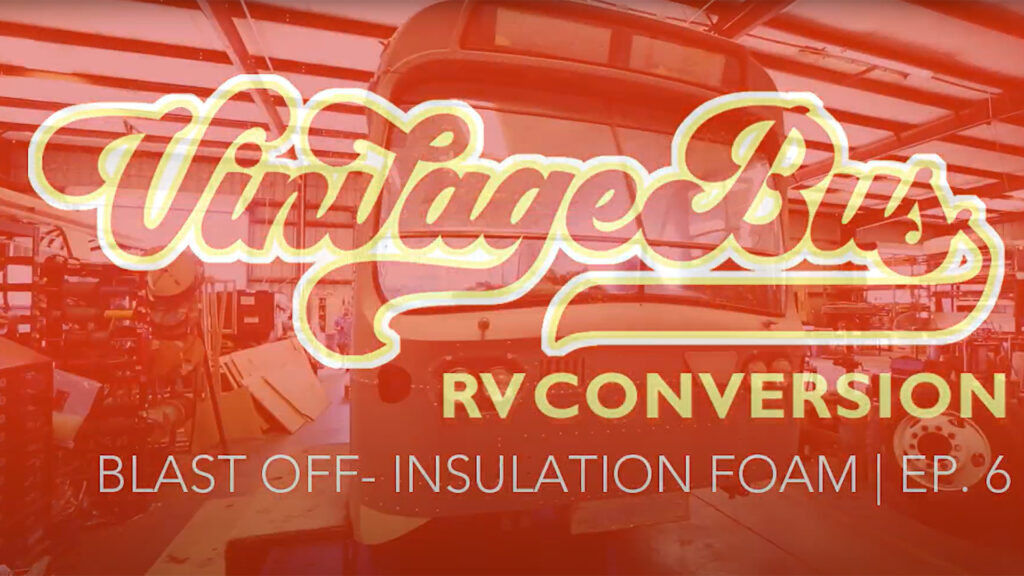
We’re going to have to find a new name for Dirty Gertie! When this vintage 1969 GMC transit bus first came to us, it needed a lot of work both inside and out. But as you can see, that grimy orange exterior is looking great and ready to paint!
As Jon takes us on a tour of this RV exterior we can see a huge difference since the last episode. The bus had been soda blasted and the team was in the process of repairing and replacing panels. The front panel was off and there was still a lot of sanding and priming to do.
Now we can see the fruits of all their hard work! The bus looks great.
It’s all sanded and primed, sealing the metal before the first coat of paint.
The team created a whole new front panel, riveting it in place to match the vintage look of the bus. They’ve also removed the wheels to give the underside of the bus a thorough cleaning. Getting rid of all the old grease and grime from years of operating as a transit bus in San Francisco gives them a clean place to run plumbing and wiring.
As Jon makes his way around the RV exterior we see that the propane tank is in, mounted on a custom bracket. It’s in a safe place near a custom exhaust pipe diverting all exhaust away from the entrance.
Exterior access doors are in place for the grey water tank and drainage pipe. There’s even space for a barbecue!
The rear of the bus is still waiting for the team to create a custom engine cover. There was a large dent in the top rear corner that the team was able to repair completely. Still to come, on the entry side, is an exterior TV.
Jon gives us a look at all the mock-up materials that have been removed from the vintage GMC bus in preparation for today’s task: RV insulation.
Jon heads into the RV interior and it looks empty without the mock-ups! But we’re seeing a crucial part of the bus conversion. The team has created a lumber framework to provide structural support for the ceiling.
In between all of those beams they sprayed foam insulation to fill any gaps that would allow heat in or air conditioning out. Once the insulation was in place, the team cut out space for the ductwork that will bring that cool air to the entire vehicle.
A similar framework along the walls was added for support and a place to attach interior wall panels. It also supplied guidelines for wall insulation, so it could be trimmed to the proper depth.
Jon explains how the team marks up the newly insulated RV interior for wiring. Unlike mass manufacturers, the Leisure Coachworks team is working on one-of-a-kind vehicles and custom RV interiors. They need to know how much wire they need to go from the load center to every component they plan to install.
They’ve also built a custom access panel that will run along the floor to enclose and hide that wiring.
The shape of this vintage bus gives the team a nice spot to run wires near the ceiling. They’ll make a custom, angled panel to bridge the curved strip between the straight walls and the new ceiling. That panel will hide the upper wiring.
We can see that the team has already cut out vents and skylights as they prepare to put in the ceiling. Spray insulation is done in layers, filling every tiny gap that would let heat into the vehicle. They’ve built up about six inches of insulation to get the job done.
We can also see other components of the RV interior coming together. There’s a track for the pocket door, more braces for ceiling panels, and we can even see the hole the team drilled to repair the dent in the back corner of the bus.
There is more insulation to be done. Once the team works out how they’re going to place panels around the windows, more insulation will be sprayed into those areas, keeping that nice, cool air from escaping.
This level of insulation is necessary for vintage bus conversions. This vehicle had no way to maintain a comfortable temperature as an RV. The team made sure that even though it looks like a transit bus from the outside, it will have all the comforts of home on the inside.


