RV Cabinet and Drawer Latches Install
How to Install
Replacing broken cabinet and drawer latches is a common RV repair. These handy devices keep your cabinets and drawers secure while you’re on the road.
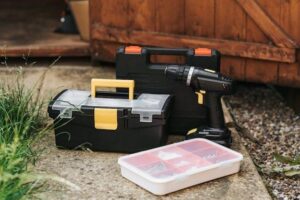
You don’t need a lot of tools to replace a broken RV latch, just a drill and a screwdriver. An angled power screwdriver is easier to use in tight spaces.
Gather up your new latch and screws and let’s get started!
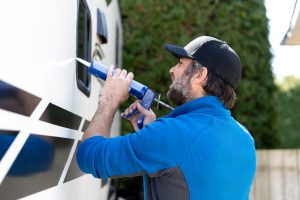
We’re going to install a complete latch on this cabinet door.
Check the thickness of the piece of wood where the latch goes. In this video, the side of the cabinet is 3/4 of an inch—not quite thick enough to mount a standard RV latch.
That standard RV latch has just one hole and a slide and we need a hole closer to the edge of the catch. Drill another hole in each end of the catch so it can be mounted flush with the outside of the wood. Then clip together the latch.
Install one screw, make sure the catch is flush, and then install the second screw. Close the door to ensure it operates smoothly.
Unclip the latch and use your fingers as a guide to line it up correctly on the cabinet door. Install only one screw so it can be adjusted if necessary. Once the latch lines up, the second screw goes in and we’re done.
Repeat the same basic procedure to replace a broken drawer frame latch. First, remove the drawer. The wood is only 3/4”, so repeat the process of drilling extra holes.
Line the new catch up with the existing holes from the old catch to place the new one in the right spot. Replace the drawer and make sure the latch holds the drawer securely.
Save the other piece of the new latch for the next repair.