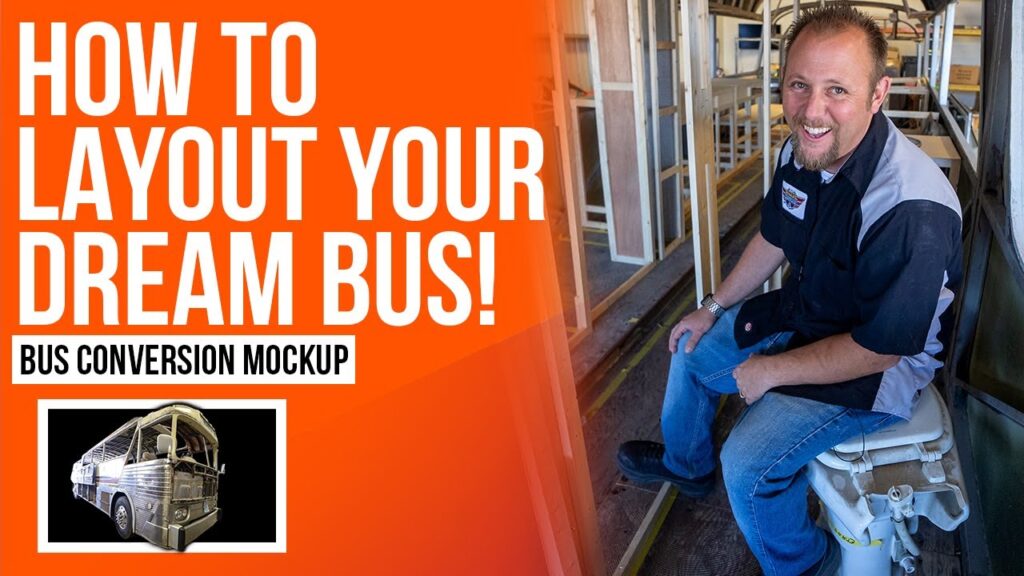
How to Floorplan Your Dream Bus | EP.4 – The Gypsy Bus
The Gypsy Bus is one of the biggest undertakings lately for The Leisure Coachworks team. It’s a process that’s going to take a while to get just right (and that’s just part of the fun of it all!) In the latest video, we’re sharing the most recent updates on the dream bus floorplan conversion.
A bit of a backstory for you…
The team has undertaken the bus conversion and restoration of a 1972 MCI M-7 bus. The project started when the owners purchased the bus, hoping to work on it over time. A big DIY project for anyone, it was soon too much of a renovation for the customer, and that’s when they turned to the team to get the work done. If you haven’t had a chance to check out our process, here’s where to start:
- Episode 1: The Gypsy Bus
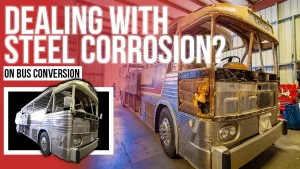
- Episode 2: Dealing with Steel Corrosion
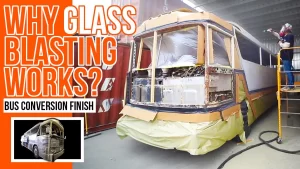
- Episode 3: Why Glass Blasting Works
Want to see some results? Check out the previous project: Our 2008 Fleet wood Expedition Remodel Reveal!)
The work continues on the Gypsy Bus, and while there is a lot left to do, there are some impressive updates present.
A big portion of the work done thus far has been on reshaping and really rebuilding the front of the bus to its former glory. To do that, they had to remove the cab that was in place so that they could bring it back to the vintage, original design. They took off the cap to lay it down to completely redesign it and bring it back from where it was. The previous owners had completely removed some of the unique detailing at the lights, for example, that deserved to be restored.
The process of recreating the shape of just this one area of the bus takes meticulous work. The focus on this part of the bus conversion and retro design is to carefully recreate the shape, applying the necessary fabric and then paying close attention to the adhesion of the fibers to the structure.
The Riveting Details
Another big update was the removal of the rivets along the side panels. While the original design had rivets, and that’s the end goal, those currently in place weren’t the right type, and that allowed water to get into the bus.
The Electrical Struggle
Another core component of this project is updating the electrical. With wires running from one area to the next, it’s taken some time to figure out what’s what. The wiring diagram will help, but there’s also the need to check each component to ensure it’s all working properly so there are no electrical issues later.
Into the Back
Along the back portion of the bus there’s a need to remove, restructure, and waterproof various areas. A great deal of rotted material had to be removed.
What’s Going on in the Inside
The outside of the bus continues to have a lot done, but the initial mockup for the interior is ready and waiting for customer approval. Stepping inside is impressive. Everything is laid out in a rough goal and shape so the customer can step in and see how well it works for them.
There are numerous decisions to make yet including whether the bathroom will have an open floor plan, how much counterspace will be used, and the position of seating. The Gypsy Bus conversion will continue to move forward, and perhaps the biggest decisions for the customer to make are quickly approaching.
Make sure to keep following the progress of this project including how we are updating the interior floorplan of the bus to build exactly what the customer desires. Follow Leisure Coachworks on Facebook and Instagram and subscribe to our YouTube Channel to get all the latest updates as the team transforms The Gypsy. If you have need of quality professional services for your RV bus conversion project, contact us today!