RV Repair: How to Replace a Skylight
We love our RV skylights. They give us more natural light, add headroom in tight spaces like showers, and just bring more of the outdoors inside. That extra sunshine also helps keep your coach warmer in the winter and can help reduce mold, mildew, and moisture.
They don’t do any of those things very well when they’re broken. So today we’re going to give you a guide to replacing a cracked, leaking, or otherwise compromised RV skylight.
Remember, you don’t have to do RV repairs yourself. If you like to DIY your rig, this is a good project. If you don’t, bring your motorhome into your local shop and let the professionals take care of the repairs.
Even an experienced DIYer can run into trouble with RV repair, so never assume you have to do every job yourself.
RV Skylights: The Basics
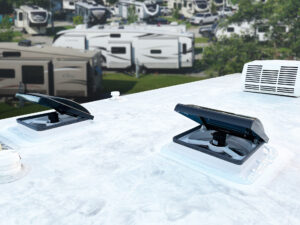
RV skylights have two sections: the inner insert and the outer shell. If either component fails, the skylight needs repair or replacement.
Both sections are made of plastic but serve very different functions. The inner insert has two components: a clear plastic dome and an opaque plastic frame. The dome is connected to the frame with double-sided tape. The insert fits under the outer plastic shell, protecting the shell and the space in between, mostly from moisture in the shower.
Common issues with inserts include the separation of the dome from the frame and cracks/breaks in the plastic of either piece.
The outer shell is sturdier plastic, meant to withstand the elements. Years of exposure to UV rays, rain, hail, and debris can cause cloudiness, brittleness, broken seals, and cracks or breaks.
Your skylights are like the other components of your RV: they should be regularly inspected and maintained to reduce RV repair costs down the line.
When skylights get old or become damaged, the biggest risk is leaks. Water seeping in through old sealant or a cracked shell can cause expensive damage. Good maintenance can catch problems early before they lead to a pain in the wallet.
Inspect and Clean Your Skylights
The last thing you want to do is replace a skylight when the cloudiness is caused by pollen buildup or that crack is actually a cobweb.
So before taking anything apart, take a look at both the insert and outer shell of the skylight and give them a good cleaning. Use a soft rag and remove any built-up dust, grime, or dirt.
Check your user manual or call a dealer or RV shop to make sure you’re using the right parts and sealant for your motorhome or travel trailer. Watch our video about roof sealants for a good guide.
Repairing and Replacing a Skylight Insert
Before you begin, gather your tools. You’ll need a screwdriver (manual or electric), a razor knife, rubbing alcohol, and double-stick tape. Visit the Leisure Coachworks Parts Store for a selection of sealant tape.
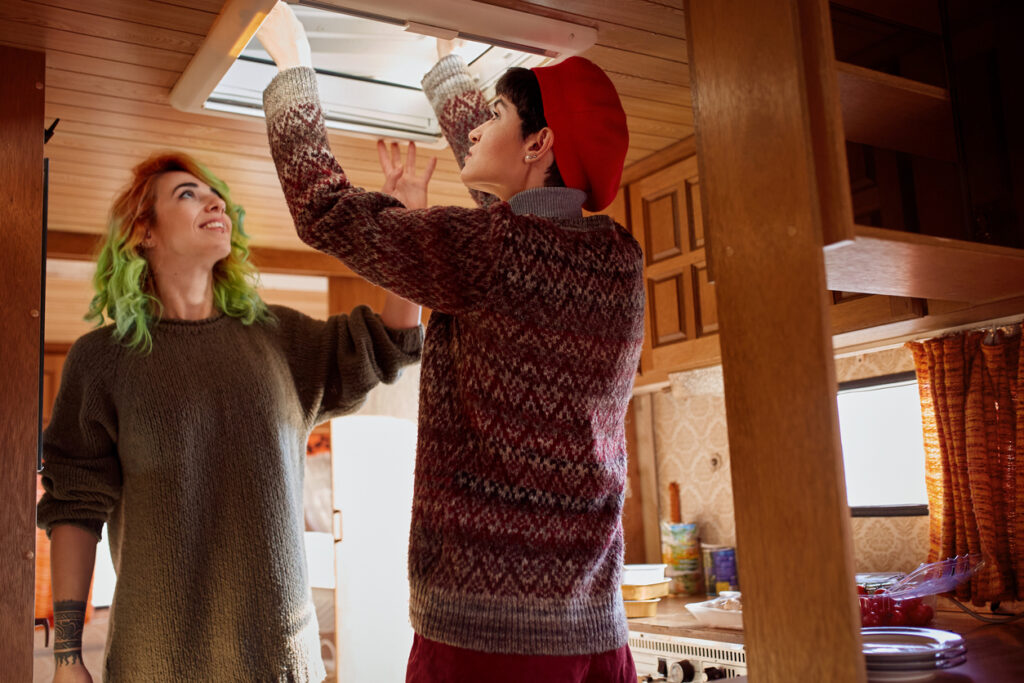
Step One: Remove the Liner
Simply remove the screws holding the liner in place and it will drop down. Be careful not to let it fall, disturbing the seals and risking cracks or breaks.
Step Two: Examine and Clean the Inside of the Outer Shell
You don’t want to take your skylight apart very often, so while you have the insert out, take a careful look at the inside of the shell. Look for cracks, leaks, or general wear.
While you’re there, use a soft cloth to clean the inside of the shell.
Step Three: Examine and Repair the Liner
Check around the perimeter of the clear dome. If it has come loose you’ll need your razor knife, alcohol, and tape.
Carefully remove the dome. Peel off the old double-stick tape using your razor knife to get as much adhesive off as possible. Remove any residue on both the frame and the dome with rubbing alcohol.
Choose a high-quality, sturdy mounting tape to seal the liner to the insert. Place the tape on the frame, peel off the backing, and carefully place the dome on the tape. Press the layers together firmly to create a seal.
Clean the entire insert with a soft rag, paying extra attention to the transparent liner. Replace the insert and the screws, being careful not to over-tighten the screws and crack the plastic.
Replacing an RV Skylight Insert
If your insert sides or dome are cracked or broken, you’ll need to replace the entire unit. Make sure you get the right skylight for your vehicle and simply screw it into place.
Replacing Your RV Skylight—Outer Shell: A Step-By-Step Guide
For this job, gather protective gloves, some mineral spirits, a caulk gun with your sealant of choice, a putty knife, and a screwdriver. Unlike the insert, the screws on the shell will be quite difficult to remove. Consider a screw gun, electric screwdriver, or drill with a screwdriver bit.
As always, have some rags on hand.
Step One: Removing the Old RV Skylight Outer Shell
Get on the roof of your RV (carefully) and with a putty knife, remove the sealant from around all of the screws holding the skylight in place.
The screws in the corners are obvious. The rest of the screws are likely to be marked by an extra bit of sealant. They will be at regular intervals around the perimeter of the skylight.
Once the sealant is off the screws, remove them with whatever tool you have chosen. You can do this by hand if you choose, but it will be much faster and easier with some power.
You’ll need to loosen the rest of the sealant to get the skylight off. This can be a tricky spot. If the roof of your RV is rubber, you can damage it with a putty knife. Be careful as you run the knife under the sealant to break the seal and pry up the skylight.
Step Two: Cleaning the Roof
That old skylight is going to leave behind a mess. Scrape up as much of the remaining sealant as possible with your putty knife and remove the rest with mineral spirits. Don’t worry if you can’t get every last bit—it can be hard to remove sealant if the surface is rough. Get as much as you can.
Use mineral spirits with caution and in small doses on non-fiberglass roofs and continue to be careful with your putty knife.
If you find that you aren’t comfortable working on the type of roof you have on your RV, you should bring it in for professional repair. You don’t want a new skylight and a damaged roof.
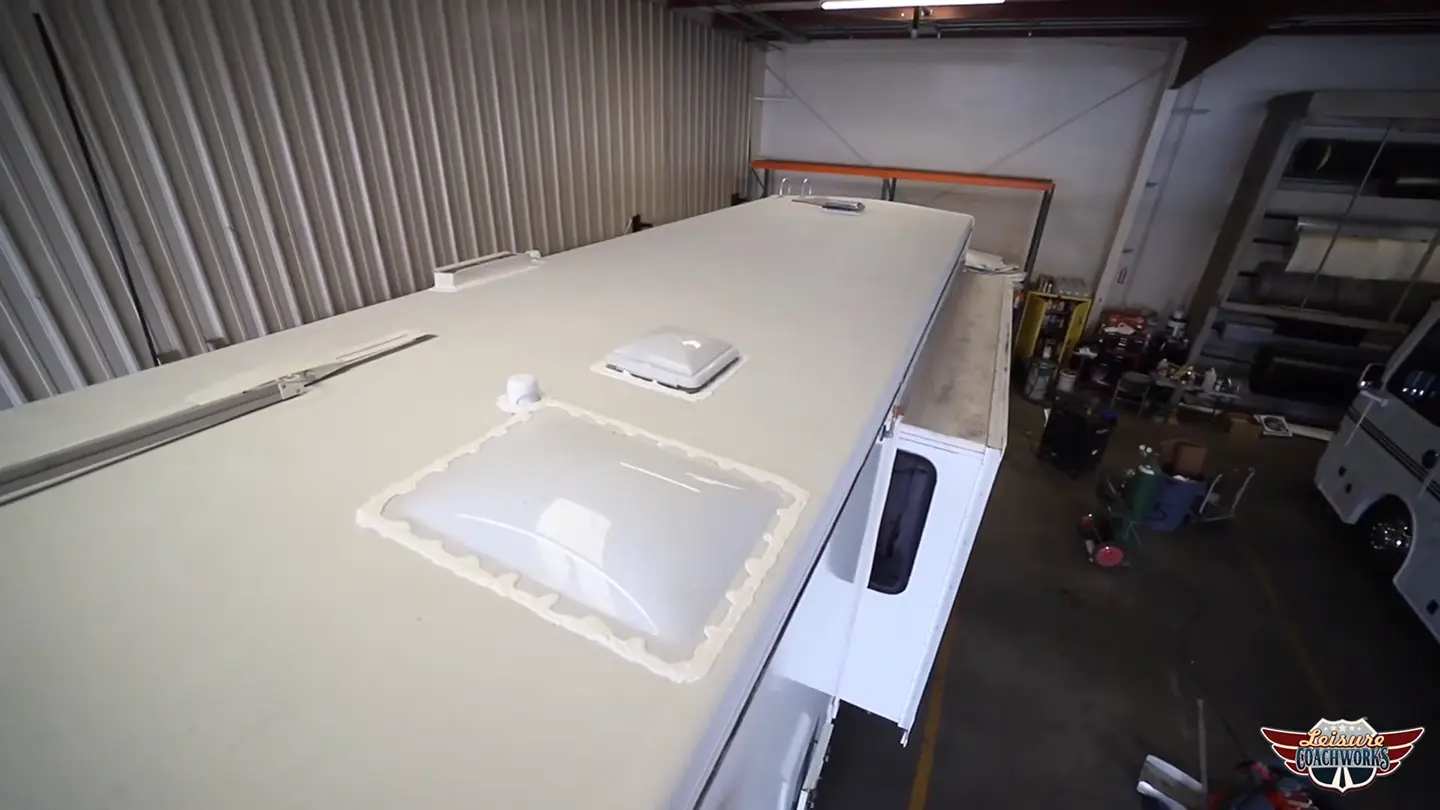
Step Three: Placing the New Shell
Run a bead of sealant along the perimeter, covering the old screw holes to seal them against future leaks. Then place the new shell and gently work it down, spreading out the caulk until it starts to come up through the screw holes on the shell.
The old sealant remnants give you a guide to make sure your new skylight is in the proper position. The screw holes may not be identical so use self-drilling screws to attach the new shell.
Insert all the screws and make sure they are tightened down enough to make a slight dimple in the plastic of the shell, any more risks cracking your new skylight. There will now be a bead of sealant all around the perimeter of your new shell.
The final step is another generous bead of sealant along the edge of the shell and over each screw head.
A Word on Condensation
If there is condensation between the insert and shell, take it seriously. It’s a sign that either the insert or the outer shell needs to be re-sealed or replaced.
Condensation is a symptom, and you may need a pro to help you root out the cause. If there is no obvious deterioration of either the liner or the shell, take your rig to the shop and have it inspected.
Don’t mess around with errant water! The damage it can cause is expensive to repair.
When to Call a Pro
You should call an RV pro any time you’re uncomfortable with DIY repair. These are complicated, expensive vehicles. You do not have to maintain and repair them yourself!
For this job, if you’ve repaired/replaced your inner liner and replaced your outer shell and are still experiencing leaking or condensation, it’s time to take your rig to the shop.
Contact us at Leisure Coachworks for expert advice and service for every type of RV.