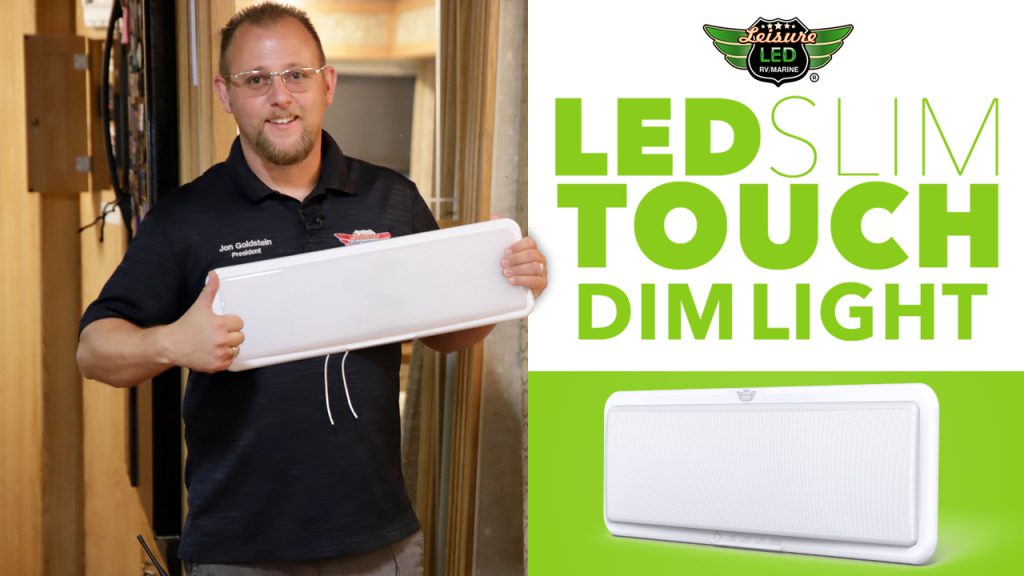
Leisure LED New RV LED Slim Ceiling Light Touch to Dim 20 x 6.5″ 1450 Lumens
We’re excited to bring you this new product from Leisure LED. We’re all familiar with standard 18-inch fluorescent RV ceiling fixtures. Now you can replace those old lights with new, energy-efficient, long-lasting LED RV lights.
Traditional fluorescent fixtures have enough depth to make a low RV ceiling feel even lower. Our slim LED RV ceiling light reduces that inconvenience.
Each unit is 20 inches long and 6.5 inches wide. It contains 144 LED chips (2835 SMD). This fixture produces 1450 lumens of light and has a frosted lens cover. That’s enough light for anything you want to do in your camper, coach, or trailer.
If 1450 lumens seem too bright for every activity and time of day, this versatile fixture has multiple settings. The Leisure LED RV ceiling light can be easily adjusted to produce light levels of 25%, 50%, 75%, or the full 100% of available lumens.
The Leisure LED RV ceiling light is easy to install. After turning off the power to the existing light fixture, remove the screws holding it to your RV ceiling. Once it’s free, you’ll see the wiring.
In this video, Jon shows how to install the new RV ceiling light with the existing wiring. Other installations may be different.
First, he cuts and exposes both wires, red and black. He’s careful not to let the wires touch.
The new LED RV ceiling light replacement is designed to be non-polarity-specific. Either wire on the fixture can be attached to either wire from the ceiling.
The Leisure LED ceiling fixture operates on a wide range of voltages, from 10-30 volts. This light will function even if your batteries are running low and can be used in higher voltage applications.
The next step is to connect the wires from the ceiling to the wires on the LED fixture using wire nuts. While the RV ceiling light is connected but still loose from the ceiling, turn on the power and check to make sure the light is functioning.
Once you know it works, it’s time to reconnect the unit to the ceiling. Tucking the wires up into the ceiling cavity, line up the new fixture to cover the entire area left by the old light.
Once the new LED RV ceiling fixture is screwed in place, test it again, and snap the frosted lens in place. It is simple to adjust the power settings to the perfect level for your needs.