How to Replace RV Rubber Roof – RV Roof Repair
Leisure Coachworks Rubber Roof Repair and Replacement
RV roof repair is a common RV service project. The experts at Leisure Coachworks are going to show you some of the steps we take when tackling a damaged RV roof.
Before making any interior RV upgrades, functional issues like a deteriorating roof need to be addressed. Rubber roof repairs can be complicated by water damage that increases the size of the job.
RV roof replacement and repair is not an easy process and is often best handled by professionals. We want you to see how we approach this type of repair. It’s a good idea to be familiar with all the parts of your RV, including the roof and the types of damage you might see.
RV Roof Demolition
The first step is to remove and clean the molding. You can reuse it or take it in as a sample for replacement parts. RV demolition is next. Roof demolition, of course. We divide the rubber roof into sections to make removing it an easier process.
Demolition continues with the removal of sealant from around vents and taking off the rest of the molding. Once completed, we can get to work on the RV roof repair. Removing the sealant allows us to locate water damage from leaks.
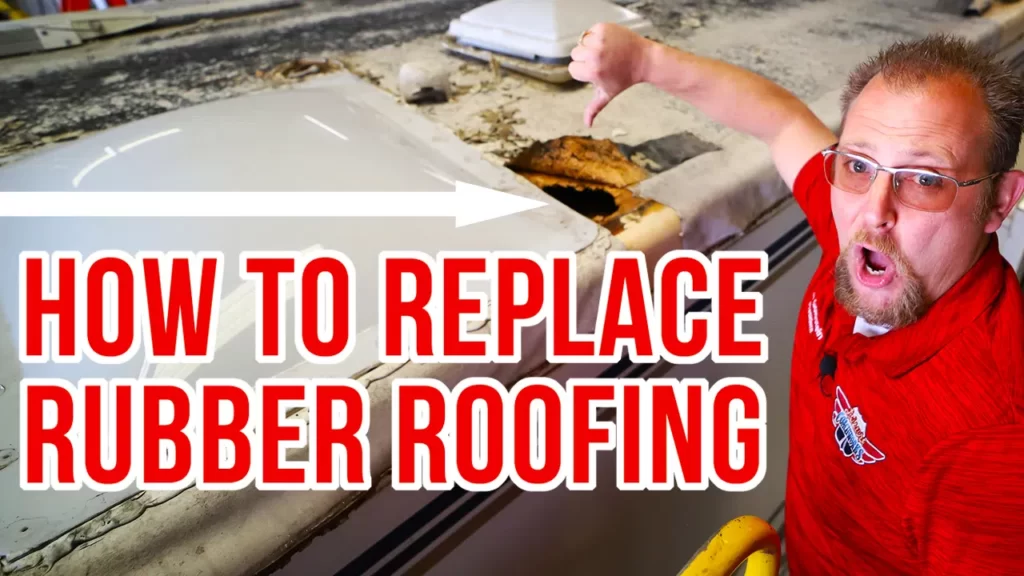
Remove and Replace
Once located, we can remove the vent, skylight, or other structure where leaks caused damage to the wood below the rubber roof. We cut away any wood that has been damaged.
Once the damaged portions have been removed we’re all set to replace those sections with new wood. This RV roof repair addresses both an old roof as well as underlying damage affecting the integrity of the RV.
Completing the RV Roof Replacement
Once the structure beneath is sound, we begin the process of sealing it back up and replacing that old rubber roof. It needs to be properly laid, taped, and sealed. We also need to put back all of the vents we removed, making sure the seals are good and tight to prevent more damage.
Determining the proper sealant is important. There is more than one type of material being used and sealants are specific. Remember, one little crack in a seal is all it takes to allow water in to damage that beautiful new roof all over again.
We get all the molding back on and sealed in place and we have a completed RV rubber roof repair. The new roof is water-tight, looks great, and is a fantastic upgrade from the original, deteriorating rubber roof.
This kind of functional RV upgrade protects the investment you make into great new RV interior features.
That’s How It’s Done
Now that you’ve seen the basics of RV roof repair and RV rubber roof replacement, you may be tempted to try it on your own. Remember, this isn’t a how-to guide to performing your own RV service; it’s a look at the necessary steps we take as professionals.
But we know that some of you love to work on your RVs and try your own RV repairs. If you’ve got a leaking roof or an old rubber roof that needs replacement and you need some advice, bring it down and we can talk you through the steps.
Better still, bring it in and let us have a look at it before you begin any work. We can help you figure out if it’s a job you can handle or one you’ll need help completing. The last thing you want is to finish a big repair and realize you’ve left out an important step.