The last time we saw this Class A motorhome, the interior renovation was in the planning stages. Jon and the Leisure Coachworks team had mocked up a new floor plan for the vehicle’s two slide outs.
The customers told us why they wanted this RV interior remodel and explained how Jon helped them through the planning process. Our last look was a mock-up of the new seating and workspace.
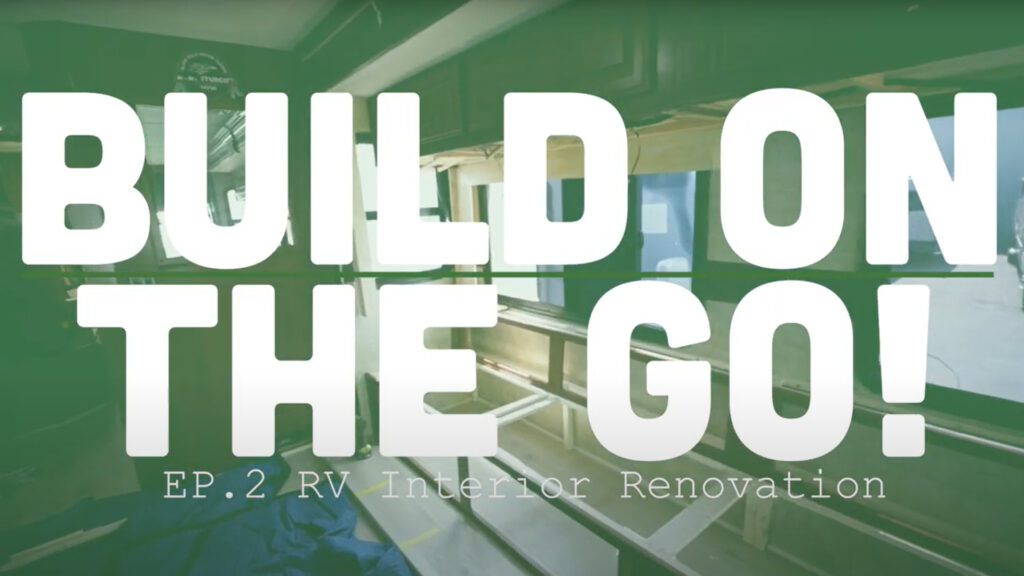
This time, we get to see the project underway. The team has removed and replaced all of the flooring in the coach and installed the slide out rollers. We see that the long seating area is framed out with trim that matches the cherry wood throughout the vehicle.
There are still some mock-ups to be done. The valances won’t be installed until the customers approve the design. The panel over the seating area has been removed and is ready for new lights.
Remodels are a good chance to fix some basic structural issues.
This RV interior had a crooked wall that the team straightened out, creating a better foundation for the improvements being made.
One of the most important parts of this RV remodel is the new workspace that the team is building. It’s got a basic frame and facing in the same color as the cabinets. We can also see how it will fit in and hide the wires and plumbing that need to pass through the space. The desk will have its own heating vent to prevent chilly toes.
The counter and stove have been removed in the kitchen. In that space will go a new combination gas/electric cooktop with space beneath for a new dishwasher.
Jon gives us a brief look at some of the complexities of slide-out wiring. The wires and cables need to be flexible enough to withstand the movement of the slide. All of those wires need to be routed to a junction point beneath the bed in the next room.
Unlike your bed at home, an RV bed is often the perfect place to hide wiring. It takes a lot of wires to run a motorhome. By using the ample space beneath the bed’s platform, the wires are both hidden and accessible for RV repair and service.
One of the concerns this customer had about their RV interior was the bathroom floor. It had hatch ridges that were not flush with the rest of the floor and were covered by a mat. The team has created a new hatch with the laminate flooring with no raised edges.
The handles are recessed to keep the floor smooth, eliminating the old tripping hazards.
When we last saw the shower area it had some wasted space that the team intends to put to good use. They’ve framed out the new shower and now are in a holding pattern.
A custom RV interior requires custom components. In this case, the vendor needs to confirm that they can get a shower door in the correct size before the project can move forward. They’ll wait for that confirmation so that the team only has to install the solid surface for the shower once.
A little patience saves time, effort, and money down the line.
Next time, we’ll get to see how this RV interior remodel turns out. We’ll take a tour of the new seating and workspace in the slide-outs, and check out the upgraded bathroom. The team will have the new upholstery and cushions, as well as new, coordinating valances and curtains to freshen up the look of this home on wheels.
Every custom RV interior remodel is different, but the Leisure Coachworks team always has one goal: to make the upgrades look like they were meant to be exactly as they are. Everything new blends with the components that are not changing to create a cohesive whole, from the front of the coach to the back.
The most exciting part, for this customer, is the new workspace. The full-sized desk is far more than they hoped for and will make working while on the road much more convenient and organized. By changing how the space in the slide out is used, the team is making the best use of every inch of this motorhome to suit the vision of the owners.
If you’re considering a custom RV remodel or want to discuss how to refresh your RV interior, contact us or stop on by our full-service RV repair, maintenance, and custom remodel shop in Fontana, California.


