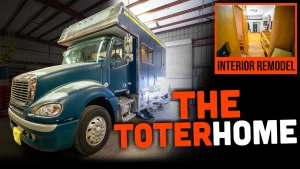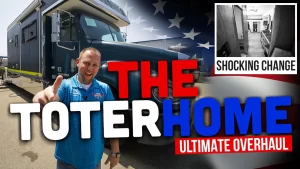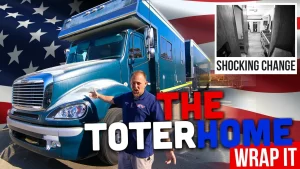
The Finish Line: 100% Custom Toterhome Final Reveal! | Total Makeover Ep4
The last time we visited this ToterHome, the owner was so excited about the interior that they decided an exterior makeover was the next step. Today we get to see the results and find out how the team decided to update this motorhome and trailer.
Before we start today’s video, let’s take a look back at the evolution of this unique motorhome renovation.
- In episode one, we learned about ToterHomes and saw the very dated furniture and design of this 2000 Renegade. Jon showed us the partially emptied coach and told us the plans for the new motorhome interior.
- In episode two, we saw the beautiful, sleek, modern interior that the team designed and installed in the ToterHome.
- Episode three focused on how exterior wrapping works on such a big vehicle.
Now we’ll take a look at how the Leisure Coachworks team decided to combine two methods to create the perfect custom RV exterior for this customer’s ToterHome and trailer.
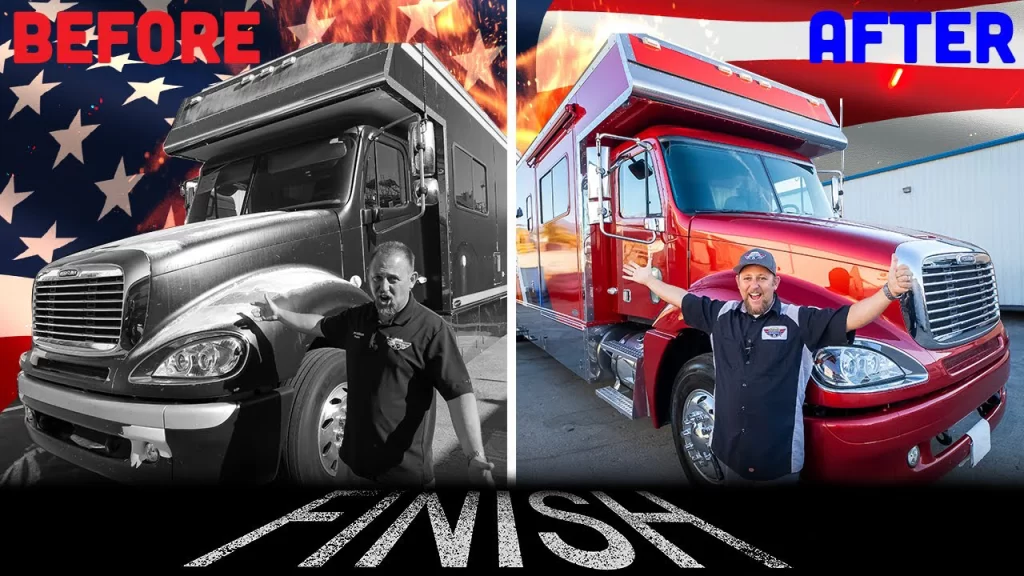
When we last saw this vehicle it was looking pretty rough on the outside. Time and the elements left both ToterHome and trailer looking worn and dull. But now it’s a shining, personalized showpiece for the customer.
The team started with the front. The cab and hood are the most exposed to weather and road hazards. To keep it looking great for as long as possible, the team decided to use paint.
This gorgeous, bright red shine will last for years, no matter what the elements throw at it.
For the rest of the ToterHome and trailer, a vinyl wrap was the best solution. This is a very large vehicle. 30 feet of ToterHome and 40 feet of trailer make for a lot of surface to cover. Customizing such a big space with paint is possible, but it’s also very expensive and time-consuming.
The better option is to use a vinyl wrap. After removing the old wrap, the team cleaned and prepped the surface. Working like a huge sticker, the new vinyl wrap already had the printed design. The team placed it precisely, so the design is perfectly positioned.
Once the wrap was in place it was sealed around all of the edges. These are the spots where a vinyl wrap is vulnerable and can peel if it isn’t properly applied and sealed.
The team also chose to use paint in areas where a vinyl wrap is not a practical solution. A spot like the microwave vent has too many small edges and corners for a wrap to properly adhere. They chose a solid paint color for the vent that works as a small accent to the stripes.
Other areas were painted as well, including the top edge of the slide out. This is another place where adherence is an issue and paint is a far more durable solution. The vinyl wrap works best on the smooth panels of a big rig.
The team created a custom look without breaking the bank by using both techniques. The economical wrap can be replaced to change logos and designs. While more expensive and time-consuming, paint is the right choice for the hard-working front end and vulnerable minor components.
Have a great idea for an RV remodel? Our specialty is bringing your vision to life with custom renovations to your home on wheels. Follow us on YouTube to be inspired by our videos and contact us to talk about your next project.