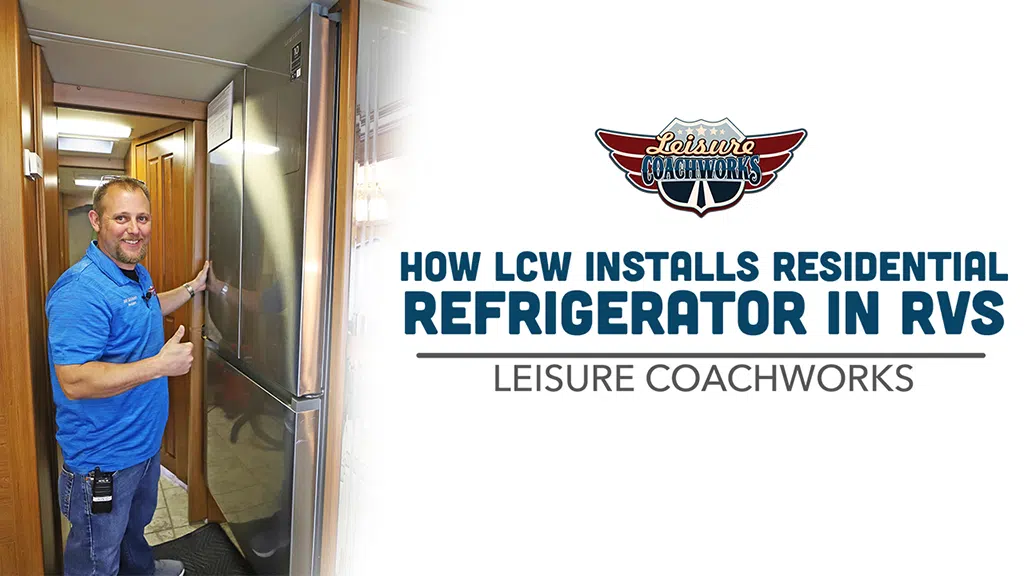
Installing a residential-sized refrigerator in your RV takes some careful preparation. Leisure Coachworks shows you the steps we take to make this upgrade to a late model motorhome.
Some people choose this upgrade because they worry that the older model gas/electric refrigerators are not safe. Those units can cause fires and we make sure to check for any signs of damage.
This upgrade also removes the need for the exterior panel used for cooling the old-style fridge.
Measuring Your Fridge Space
The basic steps we take for an RV refrigerator install begin with a lot of careful measuring. We make sure that the space is tall, wide, and deep enough to fit the new appliance.
Measuring the depth also means checking to make sure you can open the refrigerator door without hitting anything opposite. That’s also an important consideration when choosing the refrigerator. Split doors require less clearance.
It’s also important to make sure your RV has an inverter. If it already has one, and it has enough power, you’re set. If not, one needs to be installed.
Removing the Gas/Electric Refrigerator
Once we’ve made sure that we’ve chosen a refrigerator that is appropriate for the size of the opening we either have available or have created, we take care of the propane. It needs to be turned off and the heater turned on. The heater will remove any remaining propane from the system. We take care of this before disconnecting the current refrigerator.
Opening the exterior panel reveals the back of the refrigerator, including the propane line, the 12 volt, and the 110. Disconnecting and capping these lines should only be done by someone fully qualified and is best done by a professional.
We then determine the best way to get the old refrigerator out of the RV. It is unlikely to fit out the door, and we often end up using a front window. Large RV windows are very heavy, so we’re careful to have enough people on hand when it’s removed.
We use a forklift and a team to disassemble and remove the existing fridge.
Before moving anything we protect every surface that could be damaged.
The forklift is used to gently remove the refrigerator through the window and put it safely on the ground.
The new residential refrigerator goes into the RV through the same window. Our team very carefully gets it off the forklift and safely inside the RV.
Once the transfers are done, we make sure the replaced window is carefully re-sealed. The old sealant needs to be removed and replaced to prevent any leaks.
Powering the New Refrigerator
For the new residential refrigerator, you need at least a 2000 watt inverter. We always prefer to use Pure Sine. Your battery bank needs enough power to keep the inverter running and the refrigerator cool.
We also include a solar kit to keep the batteries charged when you’re off the grid.
RV Refrigerator Install
The first thing we do is safely cap the propane line from the old unit. Propane and power lines must be handled by someone fully qualified.
We put in a new, waterproofed, platform for the fridge to sit on, making sure it can’t leak onto any components seated beneath. Our team then carefully maneuvers the new unit into place. It is plugged in for 24 hours to make sure that everything is working properly.
LCW then puts on all the finishing touches that make this new residential refrigerator look like it was meant to be there.
An RV refrigerator install is a big project. As you can see from the steps we take at Leisure Coachworks, it requires both skill and teamwork.

